
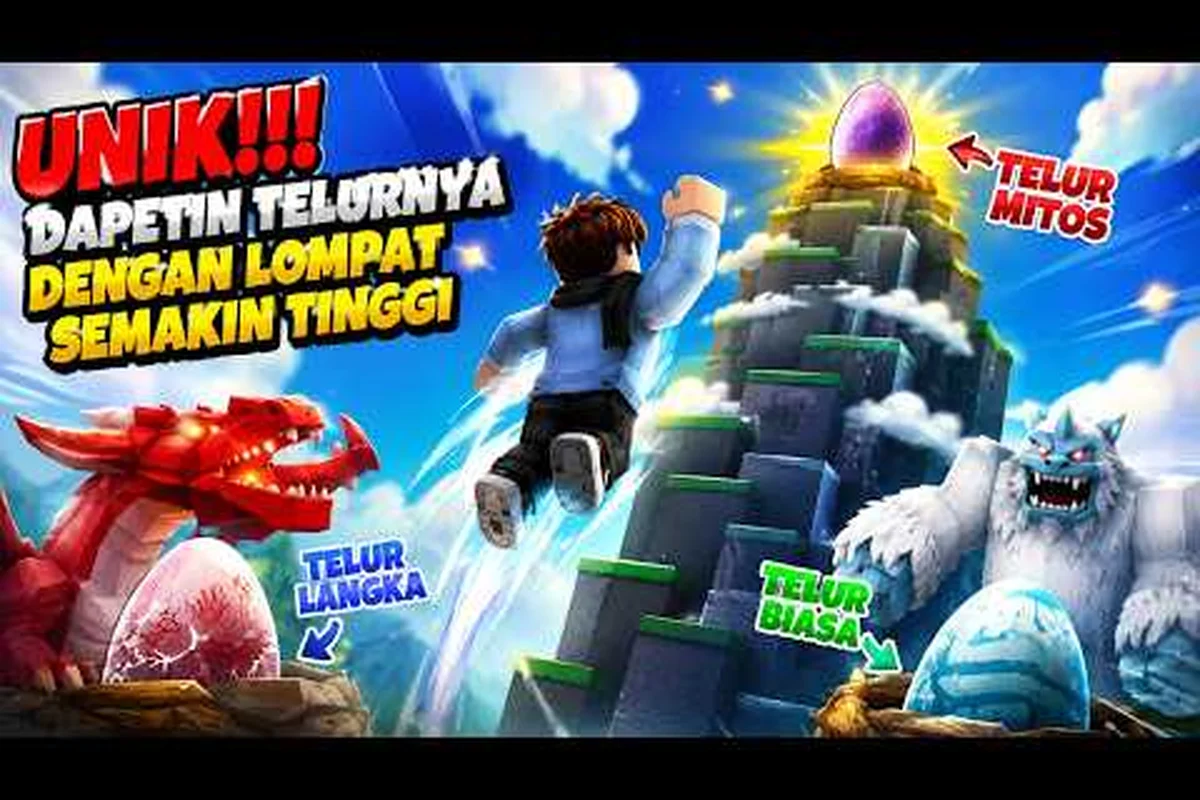
Every tall platform, hidden ledge, and egg-guarded ledge in Jump for Animals! sits behind a single core stat: your Jump Power. If you have ever spawned into your plot, tapped the keyboard a few times, and wondered why a cloud platform still felt miles away, this Jump for Animals! jump power guide is the fastest way to get unstuck. Jump Power is the number that decides which sky-tier you can reach, which animals you can actually steal from, and how quickly your tycoon starts producing serious offline cash.
The trick is that Jump Power is not a mystery stat. It grows predictably every time you train at the barbell on your plot, and it compounds every time you spend coins on the Barbell Upgrade, the Trail Boost, or the Speed Coil sitting next to your hatchery. This guide breaks the system down step by step so first-time players can hit the first height tier within minutes, the second tier within an hour, and the third tier before they log off on day one. If you want a complete walkthrough that pairs with this one, the wider Jump for Animals! first time playing overview from the official Roblox page is a good companion reference for the early game loop.
Understanding Jump Power and Why It Matters
Jump Power in Jump for Animals! is the vertical thrust your character produces every time you press the jump button. It is a stat, not a skill, which means it scales with your equipment, your trained leg strength, and a handful of permanent upgrades rather than your reaction time. The taller your Jump Power, the higher the Cloud Tier, Crown Tier, or Storm Tier platform you can land on, and each tier gates a different set of egg-spawning animals.
The reason Jump Power is the first thing every new player should focus on is simple: the entire game is built around a steal-and-hatch loop. You spawn, train legs, jump up to a guarded ledge, grab an egg, and race back to your plot to hatch it. If your Jump Power is too low, you cannot reach the ledge in the first place, and the loop stalls before it begins. According to the game's official description, players "train legs to increase Jump Power, jump higher to reach new areas, steal eggs guarded by giant animals, escape back to their plot, and hatch eggs to discover rare animals," which means Jump Power is the engine that drives everything else.
The Core Stat Stack
Your final Jump Power value is the sum of three layered systems, and understanding the stack is the difference between spending ten minutes at the barbell versus ten hours.
| Layer | Source | Growth Type | Resets on Rebirth? |
|---|---|---|---|
| Trained Legs | Manual squats at the plot barbell | Soft exponential | No |
| Barbell Upgrade | Purchase with coins at the bench | Linear + percent | No |
| Permanent Boosts | Trails, Speed Coils, Secret Animals | Flat or percent | No |
The first layer is your raw trained legs. Every squat you perform at the barbell adds a small amount of Base Jump Power, and the gains compound the longer you train in a single session. The second layer is the Barbell Upgrade you buy at the bench for coins, which multiplies your trained value. The third layer comes from cosmetics and speed items like the Trail Boost and the Speed Coil, which add a flat bonus to your total. None of these reset when you rebirth, which is why veterans recommend stacking Jump Power as early as possible.
Height Tiers and Unlockable Zones
Each height tier in Jump for Animals! corresponds to a different family of egg-spawning animals, and each tier has a soft Jump Power requirement based on community testing.
| Tier Name | Approx. Jump Power | Animal Family | Difficulty |
|---|---|---|---|
| Starter Plot | 0–50 | Common Chick, Brown Cow | None |
| Cloud Tier | 50–250 | Cloud Sheep, Sky Pig | Easy |
| Crown Tier | 250–800 | Royal Lion, Crown Bear | Medium |
| Storm Tier | 800–2,500 | Storm Wolf, Thunder Drake | Hard |
| Mythic Tier | 2,500+ | Mythic Phoenix, Secret Animals | Endgame |
According to community data collected on the AnimalByte Discord, the Cloud Tier is reachable inside the first thirty minutes for any player who trains at the barbell without distraction, while the Crown Tier typically takes a focused two-to-three-hour first session. Players chasing the Storm Tier should expect a multi-day grind unless they are using high-income animals to fund the Barbell Upgrade efficiently.
The First Ten Minutes: Spawn, Train, Jump
If you are booting up Jump for Animals! for the very first time, your first ten minutes set the tone for the entire run. The good news is that the opening loop is short, and every action you take compounds immediately. This is the part of the Jump for Animals! new player guide that matters most, because it is where most beginners accidentally waste their early multipliers.
When you spawn, you will land on a small private plot with a Barbell, a Hatchery, and a Sell Pad. Walk straight to the barbell and start training. Do not run toward the giant animals yet, because your Jump Power is too low to reach any ledge, and the guards will knock you back to your plot if you try. Training is automatic once you stand next to the barbell, so you can hold W and tap space to keep your character moving while the squats register.
The Five-Step Opening Loop
-
Train at the barbell for three full minutes to push your Base Jump Power past 25.
-
Jump toward the Starter Plot ledge and grab the first Common Chick egg from the chicken pen.
-
Race back to your plot and place the egg in the Hatchery to start the hatching timer.
-
Spend any coins on the Barbell Upgrade rather than trails or cosmetics, because the multiplier is permanent.
-
Repeat the squat-and-jump cycle until the Common Chick hatches, then sell the animal to the Sell Pad for a flat cash boost.
This loop takes roughly five minutes on the first run, and the cash you earn from the hatched Common Chick pays for your second Barbell Upgrade tier. The key insight is that every cycle slightly raises your Jump Power, which means the next ledge you can reach is a little higher than the last, which means the next animal you can steal is a little more valuable. If you want a deeper breakdown of the loop, the Jump for Animals! full guide walkthrough by VendoPlus mirrors this exact sequence and is a good visual reference.
Common First-Run Mistakes
Most first-time players do not stall because the game is hard. They stall because they spend coins on the wrong upgrades or wander into guarded areas before their Jump Power is high enough. Three mistakes account for the majority of slow starts:
-
Buying trails before the Barbell Upgrade — trails look flashy but add a flat 5–10 Jump Power, while the Barbell Upgrade multiplies your entire trained value.
-
Chasing the Mythic animals on day one — the Storm Tier and Mythic Tier ledges sit at 800+ Jump Power, which is impossible to reach without at least an hour of focused training.
-
Skipping the Sell Pad — hatched animals do not auto-sell. You have to carry them to the Sell Pad to convert them into spendable coins.
Building a Real Jump Power Curve
Once you have cleared the opening loop, the next phase of the Jump for Animals! first time playing experience is building a real Jump Power curve. The curve is the rate at which your vertical thrust grows across an entire play session, and it is what separates players who hit the Crown Tier in three hours from players who are still stuck on the Cloud Tier at the end of day one. The shape of the curve is determined by how aggressively you stack the three layers of Jump Power sources.
The most efficient training method reported by players is the "burst-squat" pattern. You stand next to the barbell, perform a burst of about thirty squats as fast as you can, then immediately spend your coins on the next Barbell Upgrade tier, then repeat. The reason this works is that the barbell's training multiplier scales with the Barbell Upgrade tier, so every coin you spend instantly makes your next burst of squats worth more. According to the Roblox Games API data for the Jump for Animals! universe, the game was created on 2026-08-12 and has already passed 5.3 million visits, which means a large portion of the player base has independently discovered this burst pattern.
Jump Power Curve by Session Length
| Session Length | Approx. Jump Power | Reachable Tier | Recommended Focus |
|---|---|---|---|
| 0–30 min | 50 | Cloud Tier | Barbell Upgrade only |
| 30 min–2 hr | 250 | Crown Tier entry | Barbell + Speed Coil |
| 2–6 hr | 800 | Storm Tier entry | Barbell + Trail + rare eggs |
| 6–12 hr | 2,000+ | Mythic Tier prep | All upgrades + Secret Animals |
| 12 hr+ | 5,000+ | Endgame | Rebirth prep |
The first row is the most important. In the first thirty minutes, every coin should go to the Barbell Upgrade and nothing else. The Speed Coil, the Trail Boost, and any cosmetic trail do not meaningfully raise your Jump Power until your trained base is at least 200. Spending 500 coins on a Trail Boost when your base is 20 is a 25% bonus to a number that does not yet matter. If you want a full upgrade-priority breakdown that complements this curve, the best jump strategy breakdown page covers when to swap focus from Barbell to Speed Coil.
The Barbell Upgrade Math
The Barbell Upgrade is the single biggest Jump Power multiplier in the game, and understanding its cost curve is what lets you plan your coins instead of spending them reactively. The first three tiers cost 100, 250, and 500 coins, and each tier multiplies your trained base by roughly 1.4x. Tier four jumps to 1,200 coins, which is why most players save for it after selling their first hatched Crown Bear.
| Tier | Coin Cost | Jump Power Multiplier | Total Multiplier vs. Tier 1 |
|---|---|---|---|
| 1 | 100 | 1.0x | 1.0x |
| 2 | 250 | 1.4x | 1.4x |
| 3 | 500 | 1.7x | 2.4x |
| 4 | 1,200 | 2.0x | 4.8x |
| 5 | 2,500 | 2.3x | 11.0x |
The math is the point. By the time you reach Barbell Upgrade tier 5, every squat at the barbell is worth eleven times what it was at tier 1, which means a single burst of thirty squats at tier 5 produces more Jump Power than a five-minute grind at tier 1. This compounding effect is why veterans recommend saving aggressively for the higher tiers instead of buying trails early.
Reaching New Areas and Egg Stealing Routes
Once your Jump Power curve is established, the next milestone is reaching new areas. In Jump for Animals!, the world is divided into stacked height tiers, and each tier is guarded by a different giant animal that drops a different egg. The Cloud Tier is home to the Cloud Sheep and the Sky Pig, the Crown Tier is home to the Royal Lion and the Crown Bear, and the Storm Tier is home to the Storm Wolf and the Thunder Drake. Reaching a new tier means clearing the Jump Power threshold, then locating the guard, then timing your steal-and-escape window.
The escape is the part that catches new players off guard. The moment you grab an egg, the giant animal will aggro on you, and you have a short window to jump back to your plot before you get knocked off the ledge. Players report that the safest escape pattern is to jump backward in a straight line, because lateral jumps often clip the guard's hitbox and send you falling. If you are building a route through the first three tiers, the area unlock requirements walkthrough covers the exact Jump Power thresholds for every World 1 and World 2 area.
Egg Value by Tier
The reason higher tiers matter is not just the height. It is the income each tier's animals produce. The income a hatched animal generates is paid out passively, even when you are offline, which is why stacking rare animals early is the fastest way to build a long-term coin engine.
| Animal | Tier | Hatch Time | Income per Cycle | Offline? |
|---|---|---|---|---|
| Common Chick | Starter | 30 sec | 5 coins | Yes |
| Cloud Sheep | Cloud | 2 min | 25 coins | Yes |
| Crown Bear | Crown | 8 min | 120 coins | Yes |
| Storm Wolf | Storm | 30 min | 600 coins | Yes |
| Mythic Phoenix | Mythic | 2 hr | 4,000 coins | Yes |
The offline income column is the one most beginners underestimate. Even if you log off after a single two-hour session, the animals you hatched will keep paying out coins the entire time you are gone, which means the next time you boot up Jump for Animals!, you can jump straight to the next Barbell Upgrade tier without grinding.
Steal-and-Escape Timing
The steal-and-escape window is a soft timer. The moment you touch the egg, the guard has roughly three seconds before it starts a knockback attack, and the knockback sends you flying off the ledge if you are still in the air. The community-tested safe pattern is:
-
Land on the ledge and stand still for one full second to let the guard's aggro animation finish.
-
Walk directly into the egg, then immediately press jump and hold S (backward).
-
Hold space the moment you leave the ledge so you get a second mid-air jump.
-
Land back on your plot and walk the egg straight to the Hatchery.
This pattern takes about two practice runs to learn, and most players stop losing eggs by their third attempt. For a deeper look at the egg economy and the rarest hatches, the hatching guide and egg odds page covers the Mythic drop rates and how exclusive event eggs fit into the loop.
Frequently Asked Questions
How long does it take to max out Jump Power in Jump for Animals!?
There is no hard cap, because the Barbell Upgrade resets your training multiplier every time you buy a new tier. Players report reaching the Storm Tier in roughly six to twelve focused hours, and the Mythic Tier is treated as an endgame goal that takes several days of stacked offline income to approach.
Should I rebirth before or after maxing Jump Power?
Veteran players recommend maxing the Barbell Upgrade to at least tier 5 before any rebirth, because the multipliers carry over. Rebirthing early resets your cosmetics and any temporary boosts but keeps your trained base, so a low-tier rebirth feels unrewarding compared to a high-tier one.
What is the best early-game animal to focus on?
The Cloud Sheep is the most efficient first target because it pays 25 coins per cycle on a two-minute hatch timer, which is five times the income of the Common Chick. The Storm Wolf is the long-term goal once you have the Jump Power to reach its ledge.
Do trails and cosmetics actually help Jump Power?
Most trails add a flat 5–10 Jump Power and a small visual effect, so they are worth buying only after your trained base is past 200. The Speed Coil is a stronger mid-game investment because it adds a percent multiplier to your total Jump Power rather than a flat bonus.