
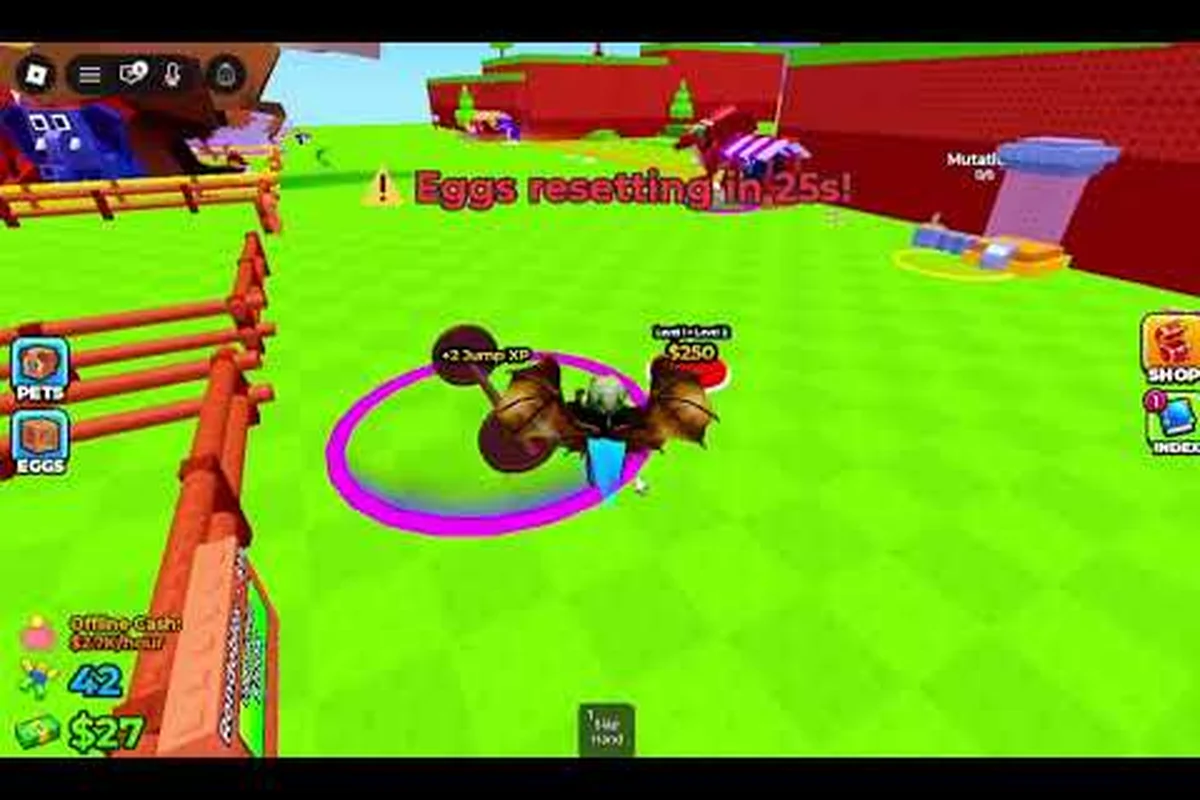
If you have never opened Jump for Animals! before, your first five minutes can feel oddly quiet: a small plot, a single barbell, and a giant chicken staring down at you from a cloud. This Jump for Animals! beginner guide turns that opening into a clear path so you go from zero Jump Power to your first stolen egg on the same session. You will see exactly what to tap first, when to push into riskier egg dens, and which upgrades actually move the needle for new players in this Roblox tycoon built around training legs, jumping higher, and hauling rare eggs back home.
Jump for Animals! is a Roblox tycoon by AnimalByte where the core loop is simple to describe but rewarding to master. You train your legs to raise Jump Power, climb into guarded animal territories to steal eggs, race the egg back to your plot, and hatch it to add a new creature to your roster. The official Jump for Animals! Roblox game page describes the loop as leg training, egg theft, escape, and hatching, with animals that earn money even while you are offline. This beginner walkthrough is built around that exact loop, so every tip below ties back to one of those four steps.
Getting Started in Jump for Animals!
Your first job in Jump for Animals! is to set up a clean training routine, because Jump Power is the single stat that unlocks everything else. Until your legs are strong enough, you cannot reach the high ledges where the better eggs sit, you cannot outrun a chasing guardian, and you cannot chase down a rival who just stole an egg from your own den. Treat the opening like a small project: train, observe, plan the first heist, and only then leave the plot.
What the first 60 seconds look like
When the world loads, you spawn on your own small plot with a starter barbell already placed. There is no menu to grind through and no tutorial popup that blocks your input, so a lot of new players start randomly tapping and miss the rhythm. The cleanest opening, according to a VendoPlus full guide for Jump for Animals!, is to face the barbell, hold the lift interaction, and let your character rep out automatically. Each rep converts into a small chunk of Jump Power, and the barbell itself has a built-in cooldown that you do not need to manage.
Run through this opening checklist before you even think about leaving the plot, because the first minute sets the tone for your entire Jump Power economy in Jump for Animals: beginners who skip it usually spawn on the wrong edge, claim a free trail they cannot use, or run blind toward a den they cannot yet reach. Treat it as a 30-second self-audit — confirm the lift prompt, snapshot your meter, and pick a safe line of sight before the server fills up and your first steal window closes.
-
Find your plot's barbell and confirm the lift prompt works.
-
Open the Jump Power meter and memorize your starting value.
-
Check the in-game shop for a free trail or cosmetic you can claim.
-
Look toward the nearest egg den and judge how high the ledge is.
-
Note any other players already running, since crowded servers mean tougher steals.
The first 5 minutes of Jump Power training
Most new players try to multitask right away and end up wasting reps. A tighter routine is to stand on the barbell pad, do a focused burst of about 20 to 30 reps, then take a single look around the map before returning. After roughly 100 to 150 total reps, the starter barbell starts to feel slow, which is a signal to look at your upgrade options rather than to chase a higher ledge. The Roblox API entry for universe 10690360998 confirms Jump for Animals! is classified as a Simulation / Tycoon experience, so the design is meant to reward short, repeatable sessions over a single marathon run.
The table that follows is built from Jump Power milestones most beginners hit inside a single ~20-minute Jump for Animals training loop, so treat each row as a checkpoint rather than a hard timer. Because squat speed scales with rep count and not clock time, your personal curve will drift by a few dozen reps depending on barbell upgrade timing and whether you break to scout egg dens early. Use the table as a reference target, then re-check your own stage every 50 reps so the beginner guide pacing stays honest.
| Stage | Approx. reps done | What unlocks | Recommended action |
|---|---|---|---|
| Plot squat | 0 to 100 | Ability to reach the first low ledge | Stay on plot, finish squats |
| Hill hop | 100 to 300 | Reach the second-tier egg den | Scout den, do not commit yet |
| Steal window | 300 to 600 | First reliable egg steal on a low den | Run your first heist |
| Chase range | 600+ | Chance to fight back against chasers | Start upgrading barbells |
The Steal-and-Hatch Loop From Your First Session
The steal-and-hatch loop is the heart of Jump for Animals!, and once it clicks, the game opens up fast. Every cycle has four phases: scout, steal, escape, and hatch. The Roblox store page summary makes it clear that animals "earn money even while offline," which means a single successful steal can keep paying you long after you log out. Treat every egg as a tiny investment, not just a collectible, and the early game stops feeling random.
Scout, steal, escape, hatch
Scouting is the phase most beginners skip. Before you commit to a den, watch the guardian's patrol for at least one full cycle and look for a safe window. A common community report is that the easiest eggs are not the closest ones, but the ones whose guardians turn away from the ledge for a couple of seconds. If you cannot find a clean window after two patrols, the den is too hard for your current Jump Power and you should keep training.
Stealing is mostly about timing your jump at the right ledge rather than holding the grab button. When the guardian is facing away, sprint, jump onto the ledge, grab the egg, and immediately reverse direction. The escape phase is where most new players lose their first eggs, because they try to climb instead of just running downhill. Eggs do not require you to keep jumping; a clean downhill run with one or two well-timed hops is faster than a panicky jump chain. Once you are back on your plot, place the egg on the incubator pad and let the timer run. A Volc showcase of Jump for Animals! shows how a steady stream of hatched animals adds up to serious money per minute, which is why the loop is worth respecting even at the very start.
First-Session Mistakes Every Beginner Makes
Three mistakes show up over and over in early sessions, and they all cost more time than they save. First, chasing Mythic eggs before you can reliably reach the second tier is the single biggest time sink. Second, leaving your plot unattended while you are halfway across the map means a rival can lift an egg from your own den with no resistance. Third, ignoring the speed coil upgrade because it "feels small" leaves you slower than every other player in chase scenarios.
If you are unsure whether you are ready for a den, run this quick check before queuing: try the four-question readiness test tied directly to your current Jump Power threshold, the guardian's patrol radius on that specific map, and your ability to chain a wall-kick into a downhill escape with the speed coil already equipped. Skipping this step is the fourth classic beginner mistake — players who load into a Mythic-tier den while still at tier-one Jump Power waste 8–12 minutes per failed run and leak eggs they could have secured on a tier-appropriate den instead.
-
Can I reach the ledge with a single standing jump from the lower platform?
-
Can I see the guardian's patrol line from a safe distance?
-
Do I have a clear downhill escape path with no walls in the way?
-
Is my Jump Power at or above the threshold in the table above?
A single "no" means you are not ready for that den, and the cost of forcing it is brutal: failed Mythic runs at tier-one Jump Power bleed 8–12 minutes apiece, often dumping the egg back into the open map where rival players can grab it. Drop down to a den whose recommended Jump Power threshold you clearly clear, re-run the four-question check, and only then queue — the speed coil upgrade and the wall-kick → downhill escape combo only feel safe once the patrol radius and ledge distance actually match your current stats.
Jump Power, Upgrades, and Equipment
Jump Power is the currency that buys you access to higher ground, but the actual number on the screen is only half the story. The other half is what you do with the cash your first animals start to generate. Smart early spending in Jump for Animals! is less about buying the flashiest trail and more about stacking the upgrades that compound over time. The AnimalByte group page lists Jump for Animals! as the developer's flagship title, and the in-game upgrade tree mirrors that design philosophy: simple on the surface, deep if you respect the curve.
Barbells, trails, and speed coils
Barbells are your training engine, trails are your movement flair, and speed coils are your chase insurance. Most new players pour everything into the barbell, which is reasonable for the first hour, but it is not the only lever. A balanced early build usually looks like 60 percent of new income into barbell upgrades, 25 percent into the next speed coil tier, and 15 percent into a trail once you can afford one without starving your training.
Barbells are your training engine, trails are your movement flair, and speed coils are your chase insurance, and this snapshot shows how the three upgrade paths compare in the early game. Barbells stack Jump Power per rep and rep speed, so they pay off the second you spawn into Round 1 and stay useful on every map. Speed coils only matter once you are confident enough to attempt a steal, but skipping them on a chase-heavy egg run usually means losing midair races. Trails are the only purely cosmetic line, so in a beginner guide they sit last on the priority list until your bankroll can cover training without dipping into reserves.
| Upgrade path | What it boosts | Best moment to invest | Risk if ignored |
|---|---|---|---|
| Barbell | Reps per minute, Jump Power per rep | Immediately, every session | Slow map access |
| Speed coil | Sprint speed, chase potential | After first successful steal | Lost chases, lost eggs |
| Trail | Cosmetic, minor prestige | When cash is overflowing | None functional, some social |
Reading the Jump Power meter
The Jump Power meter is one of the most underused tools in Jump for Animals!. A lot of beginners watch the number rise and assume they are "ready" once it feels high, but the meter has soft breakpoints that line up with specific ledges. As a rule of thumb, when the meter crosses a clean round number like 200, 400, or 800, do a quick scout of the map to see if a new den has opened up to you. If it has, that is your cue to push. If nothing has changed, the upgrade you bought may be a cosmetic or a percentage boost rather than a flat Jump Power gain, which is worth knowing before you spend.
Plot, Dens, and the Animal Index
Your plot is your home base, your safe zone, and your income engine all in one. It is also the surface where the Animal Index lives, and the Index is the long-term goal that keeps the early grind from feeling pointless. According to the game description, completing the Animal Index is how you claim the largest rewards, so even your first session should be planned with the Index in mind rather than just raw cash.
Setting up your plot for fast cycles
A clean plot layout is faster than a fancy one. Keep the barbell pad in the open, the incubator on a flat surface, and the trail spawn point close to the egg-return path. Cluttered plots force you into detours every time you come back with an egg, and those detours add up. If you want a more structured look at the broader strategy behind layouts and money flow, the Jump for Animals! strategy guide covers mid-game plot design in detail.
Filling the Animal Index for the first time
The Index rewards completion over rarity, which is good news for beginners. Logging each new species, even common ones, moves the completion bar and unlocks the next reward tier. The trick is to log new species instead of stacking duplicates, so prioritize dens you have not cleared yet over dens you have already looted. This habit also exposes you to a wider range of guardians, which makes later heists much easier.
If you want a kid-friendly framing of the same loop, the Jump for Animals! walkthrough for kids breaks the Index into smaller, friendlier chunks, with simpler language, bigger spacing between steps, and gentle prompts instead of dense strategy — a great side read while a younger player fills in their first 20% of the Animal Index alongside you.
Avoiding Pitfalls and Planning the First Win
Most beginners do not lose because the game is unfair, they lose because they overcommit to a den they were not ready for or because they ignore the offline income that is already waiting for them. A solid first session ends with one or two eggs hatched, a small pile of cash, and a clear sense of which den to hit next. If you finish a session with more Jump Power than when you started and at least one new species logged, you are already ahead of most first-day players. A focused Jump for Animals! tutorial on jump height and leg strength pairs well with this guide once you are ready to push past the first tier.
| Session outcome signal | What it tells you | Action for next session |
|---|---|---|
| Jump Power ended higher than session start | Barbell / leg training loop is working | Push one tier higher on the jump ladder before re-checking dens |
| At least one new species logged in the Animal Index | Steal-and-hatch loop is producing discoveries | Target a den whose guard species is missing from the Index |
| Cash pile grew even while offline | Passive income animals are placed on the plot | Stack more hatchers on the plot instead of chasing dens |
| Zero eggs hatched, Jump Power flat | Overcommitted to a den above current jump tier | Reset to a lower den, farm Jump Power first |
| Mythic egg secured | Late-game progress unlocked | Pivot to upgrading trails, speed coils, and barbells |
The smartest early-game habit is to treat each den as a question rather than a destination. Walk up, read the patrol, judge the ledge, and only commit when the answer is clearly yes. If you keep that mindset, your Jump Power curve will feel less grindy and your first Mythic egg will arrive sooner than you expect.
Frequently Asked Questions
What is the very first thing I should do in Jump for Animals!?
Start on your plot's barbell and do a focused burst of reps to raise Jump Power before you leave the safe zone. The barbell has a built-in cooldown, so just stand on the pad and let your character lift automatically while you watch the meter. Once you cross the first soft breakpoint, scout the closest den and plan your first steal.
How do I steal my first egg without losing it?
Watch the guardian for a full patrol, wait for it to face away from the ledge, sprint in, grab the egg, and run downhill instead of jumping. Most lost eggs come from panicky jump chains during the escape, not from the grab itself. A clean downhill run with one or two hops is faster and safer.
Do I need to stay online to make money in Jump for Animals!?
No. Hatched animals keep earning while you are offline, which is why the first hour of the session matters so much. Even one or two hatched eggs will keep paying you overnight, so it is worth focusing on safe steals rather than risky Mythic chases early on.
When should I start spending on cosmetics and trails?
Wait until your barbell and speed coil upgrades are funded for the next session, and only then dip into the trail shop. Trails are great for flair but do nothing for Jump Power, and starving your training for a cosmetic will slow your whole curve. A good rule of thumb is to keep at least one future barbell upgrade worth of cash in reserve.
Is Jump for Animals! safe for younger players to start solo?
Jump for Animals! is rated for a wide age range and the tycoon loop is mostly single-player friendly, but younger players benefit from a short orientation on the chase and escape phases. The Jump for Animals! guide for younger players covers the basics in a friendlier format that pairs well with this walkthrough.